Input forms and how to increase your data capture
Collecting data even in this amazing digital age can still be time consuming and tedious and requires someone to collect and enter that data into a spreadsheet or database. With our recent version of Docuo we have introduced an amazing feature for our clients to help speed up data capture. Keep reading and find a 4 minutes video tutorial at the end of this post!

In 1.7.5 we introduced Input Forms for you to use to help generate data from your customers, collaborators, team members and literally anyone you wish.
So today i am going to show you briefly how to set up a form and it’s use for you!
What is an input form?
An input form is an electronic form that allows a viewer of that form to supply you with information that you specify. This means traditional methods of collecting information personally through telephone, letter, email etc is no longer needed.
Whats even better is that when the data giver submits the form that data is instantly added into the category that you created specifically for this. Thus reducing the work load of traditional data entry and allowing you access to that information immediately.
There are so many ways these input forms can benefit your business here are a few examples:
- Customer service (inc. complaints, suggestions, new customer)
- Orders
- Support tickets
- Additional information
“Ok, but I need to fill a document online”
If your idea is to complete a document online (that is, that your client see a document in the screen, fill it out and sign it as he would with a paper and a pen), then the data collection forms of Docuo are not for you. Maybe you want to take a look at the platform of our friends from Docxpresso. Their solution for completing and signing documents online allows exactly this and in the not too distant future a connector between both platforms (Docuo and Docxpresso) may be developed.
How to create an input form?
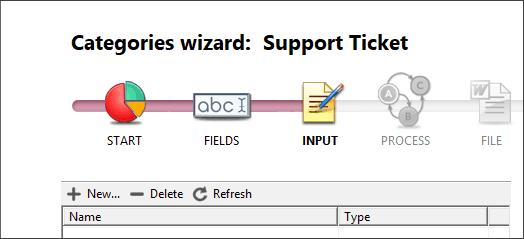
In the category wizard we have created a new step called “Input” which will allow a category administrator access to create a new form.
From this step you can create, remove and edit all your input forms for this category. Lets create a new form for our category that takes care of support tickets.
When you select “New…” you will be introduced to the new input form creation window.
For full information on all the functions of this window visit the online documentation for more information here.
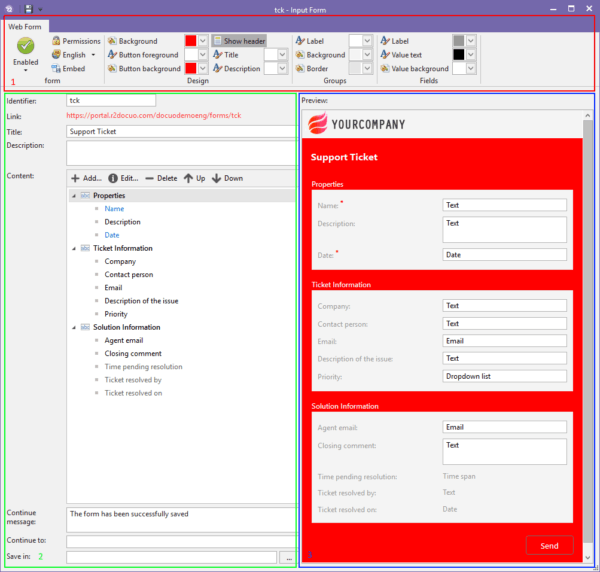
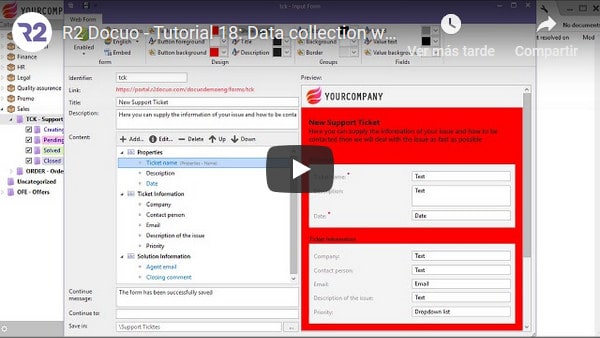
In this window you can do everything you need to set up your form! It is set up into three areas. let’s look at those a little closer.
So the first area (1) is the design area:
Here is where you set your form to be enabled or disable depending on when you want it used and also the overall design of the form including colors and if your header is shown or not.
You can also embed this form onto your website allows users direct access.
Importantly here is where you set up the permissions of this form for example who has access to it. You have three options:
- Anonymous access: This simply means anyone can fill in this form.
- Users: Other users of this form can only use this form after they have entered their credentials to Docuo.
- Collaborators: Same rule applies here as if for users, collaborators must enter Docuo credentials to access the form.
This is very important for information you need from only specific people and not everyone.
Area (2) is more in depth customization.
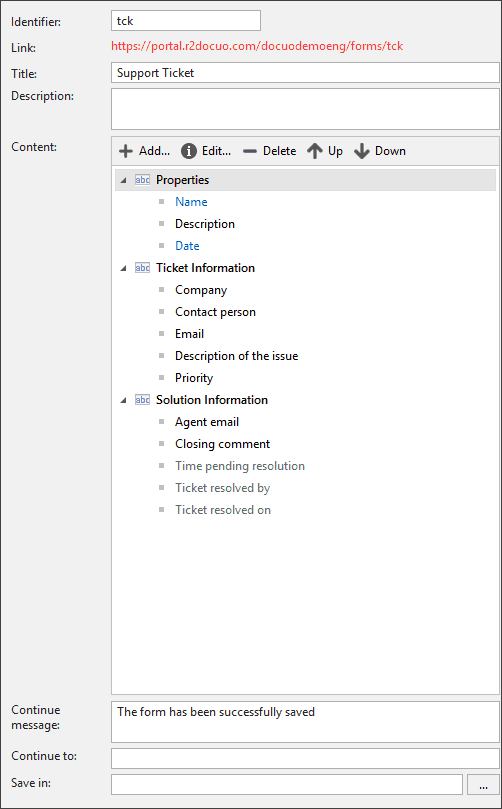
This area allows for the customization of the data that is required. Here you create the identifier, name and description of the form and have access to the link of the form to share.
The content is the metadata fields that you have already set up in the category. You can remove fields, hides them from the viewer. You can make them mandatory and even prefill them with a default value or text.
At the bottom you can give a message for when the form is completed and also a webpage to be directed too once completed and finally a folder in Docuo on where this record will be saved.
Don’t forget further details on each of these areas can be found here.
Finally the right hand area (3) This is the preview screen showing you how the form will look when it is active and a users views it.
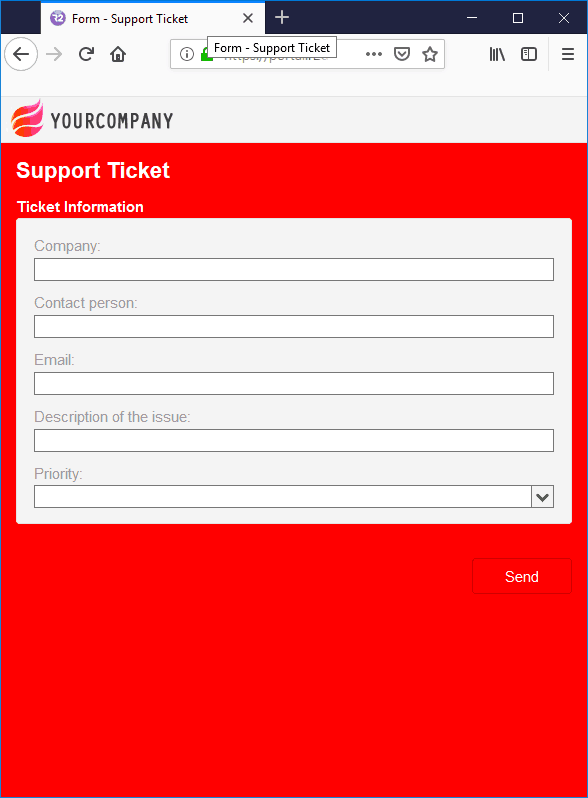
Through any web browser:
Also any mobile device:
Once the forms are completed all the information is directly added into the category you created meaning it is ready to work with the moment it is submitted!
This is an amazing tool to help your productivity increase while still maintaining a high service for your clients and customers.
If you prefer a short video covering details on Input Forms, have a look to this video tutorial in our website:
Again for more information on input forms you can view the online documentation here, reach out to us here or even take advantage of our free 30-day trial!
If you liked this post make sure you follow and subscribe to our YouTube, Twitter, Facebook, Reddit, and LinkedIn pages for more updates and information.
Of course all our blogs are available at r2docuo.com
See you in the Cloud!

James Storey


